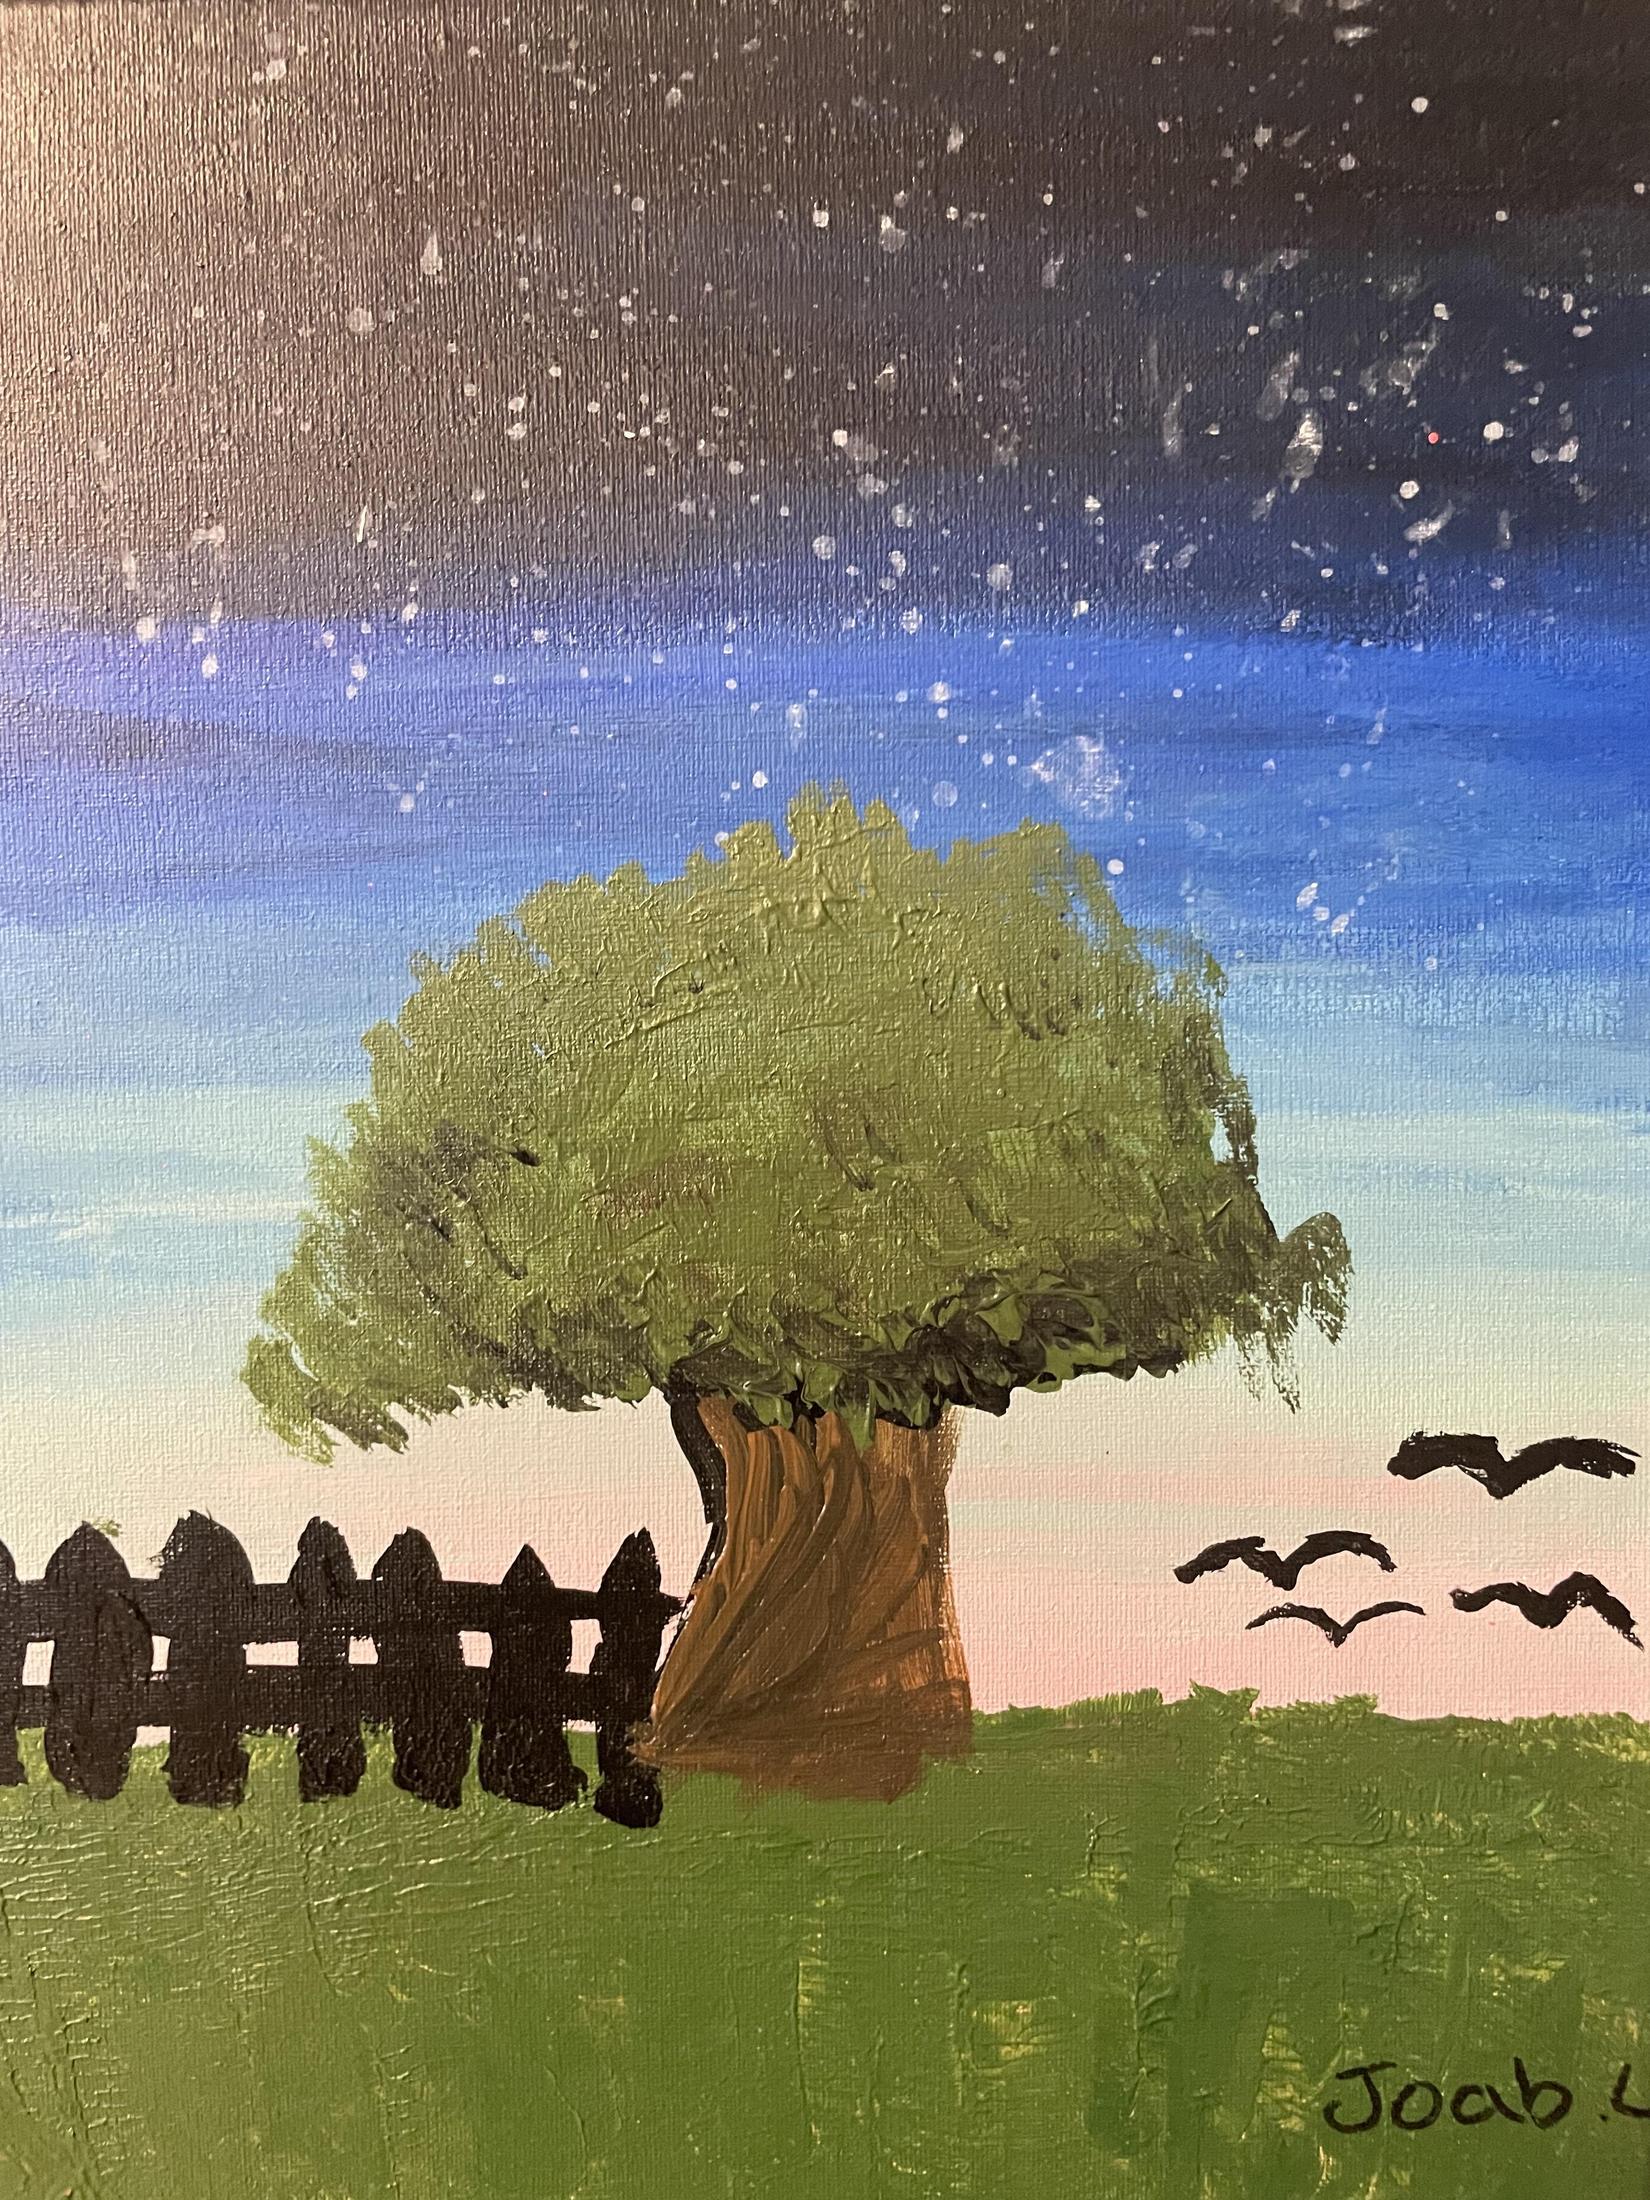
Student's Painting: Tree
Enter Title

This is a lesson posted on a Calendar
You will learn to draw a one-point perspective.
Here are some examples I took from the website: https://educationcloset.com/2018/04/01/3-ways-to-teach-1-point-perspective/
You can watch and modify the example in your way. Make it fun! Color and shade your perspective to make your drawing real. You can use graphic design with your computer or apps.
Turn in your assignment online, to my email if you have not done it before.
Goals
One-point perspective makes your drawing look more realistic.
Once you know the rules, it can be applied to anything you draw.
It touches upon many Elements of Art: Line, Space, Value, Shape, and Form
You will use a ruler, with measures and other mathematical concepts like parallel lines, shapes, forms, measuring, and use of tools.
Begin with a one-point perspective.
Draw using perspective: you need 1 or 2 things: a vanishing point and a horizon line.
Once you have an understanding of a one-point perspective, then you can expand into more complex concepts.
Step 1
Learning vocabulary
Two new words you learn and meaning:
Vanishing Point: The place where something moves so far away from your view that it just vanishes. If it is a road, with parallel lines, it is finally where they vanish creating the illusion of intersecting.
Horizon Line: This represents the viewer’s eye level or where the sky meets the water or land. When inside, it could be where the wall meets the floor.
Step 2
Draw :
Horizon Line first and Vanishing Point on the Horizon Line.
You GOT IT!!!
Step 3
Choose your Art Project.
One Point Perspective Designs: The Bird’s Eye Buildings, Landscape, and Room
There are 3 specific designs that I taught in March to my students using a one-point perspective. After you practiced, you learned how to make basic sketches of perspective and choose one of these 3 designs, we looked at examples of how other artists have used these basic concepts and have added their creativity to the process. Students then create a work of art using one of the designs covered and their art supply or process of choice.
Here are some examples I took from the website:
You can watch and modify the example in your way. Make it fun! Color and shade your perspective to make your drawing real. You can use graphic design with your computer or apps.
Turn in your assignment online, to my email if you have not done it before.
Have fun drawing and be safe!
Ms. Paola Piazzi
MA Visual Art Teacher


